Kristin Peterson: mixed media, collage, painter, artist

Sunday, December 28, 2014

homemade wrapping paper

i was needing to wrap up some gifts for work and wanted a special touch- so i decided to make some homemade wrapping paper to use along with my tags and charms.


i had a roll of vintage player piano paper and used that as my substrate. i wanted something that was a continuous roll so i could paint a large area and then, cut into strips to use on my packages.

the lighter blue color is actually paint, and the other colors added were a spray ink. some of the ink i sprayed directly onto the paper, and others i used a stencil. i also was not concerned about going all the way to the edge of the paper. if you look close to the right hand side you will note the words for the song. i did not want to paint over that- i wanted to be sure and save that edge so the person receiving the gift could see it and i thought the neutral color of the paper was a nice contrast against the colors.


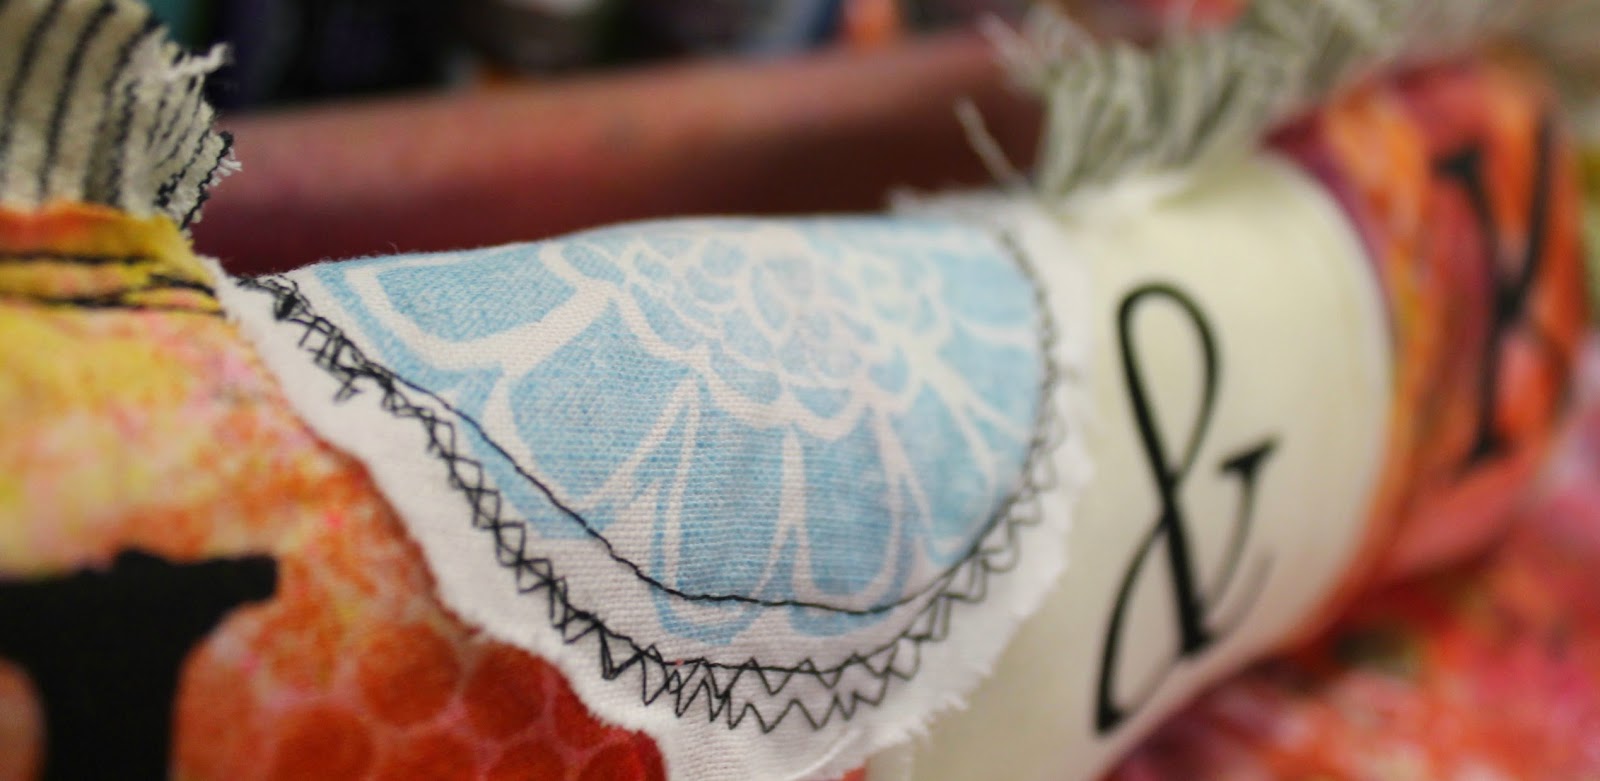
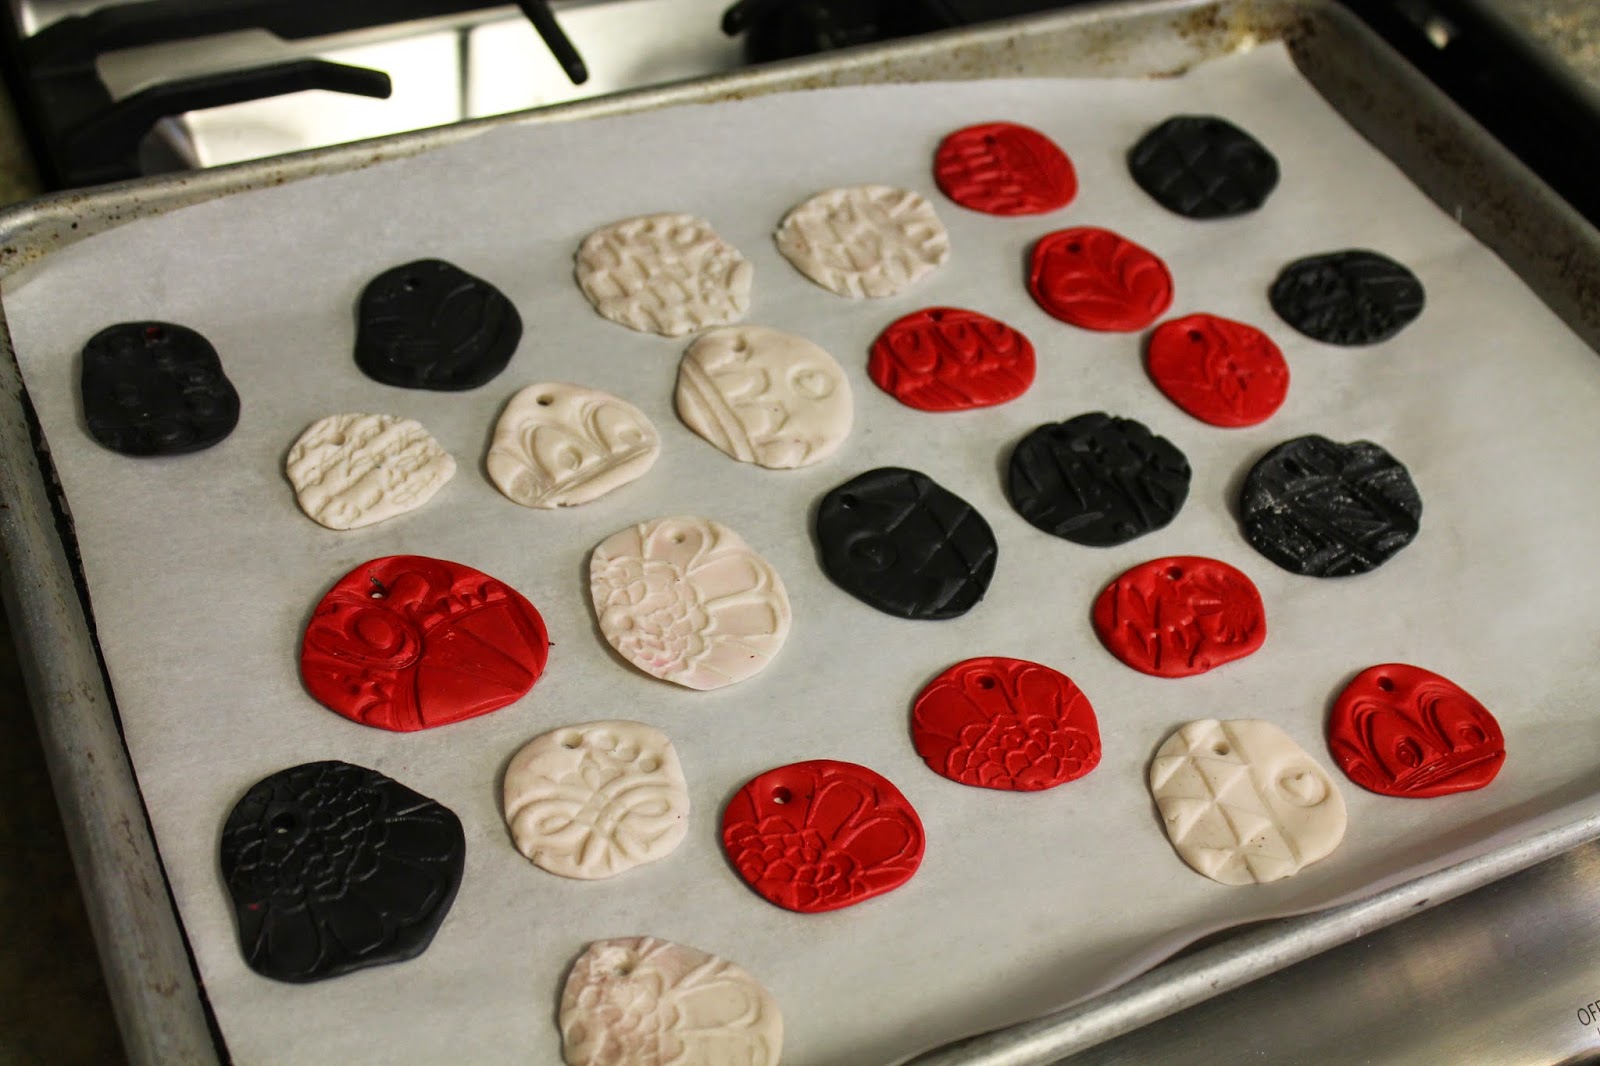
the longer runs in the paper made it slightly more fragile to work with and did require me to use extra washi tape when attaching to my packages; but, i figured that was part of its' charm. i finished the wrapping up by adding one of my homemade tags and charms to each package.


each gift was similar yet different and made just for my employees.


i loved the way the whole packaging came together for these gifts.

hope everyone had a wonderful Christmas!

Saturday, December 20, 2014

ssssssshhhhhh.......

i am going to share something i made for my sweetie for Christmas but no telling him before hand....


i used some of my hand painted/ dyed fabric and painted our initials on; cut out the squares and stitched together. i also used a stamp from Rae Missigman's new stamp set to stamp the blue flower on top.


i love the pinstriped linen fabric ruffle...and of course the black n white polka dot fabric on the back.


i did some hand stitching to secure the lace doily into place after machine stitching the edges. i also added a few cute, vintage buttons for some additional details and contrasting texture.


to finish it off i had stuffed it and hand stitched the corner with pink thread. i decided to hand stitch all along the bottom to give a smoother edge and finish to my pillow.


5 more days to Christmas......

Wednesday, December 17, 2014

worked like a charm...


recently i spied an idea from Alisa Burke using sculpey clay to make package charms. all pics here are of mine....


i followed her instructions and the baking the instructions on the clay and made a handful of Christmas package charms....and i am so excited to share!

i bought an off-white, red and black sculpey clay to make my charms; but, there were a ton of colors to choose when shopping at my local Michael's store.

the packages of clay seem kind of small but, i was able to make many charms from one package. the clay is divided into 4 strips of clay. when i made my charms, i used about 1/3 to 1/2 of a strip to make a charm. rolling it into a ball and then using my fingers to then work the ball into a flat shape. once flat, i stamped into each one mainly using my new stamps from Rae Missigman. i also punched a hole into the charm so i can tie onto packages.


when baking, i lined my pan with parchment paper and baked according to the directions.


once the charms were done baking, i let them cool and then painted with black and white acrylic paint. i wiped off the excess paint off of the surface, leaving the acrylic paint to stay in the stamped shapes- hi-lighting the shapes. i was curious what they would look like using colored acrylic paint- so i tried a turquoise; and gold ink, and finally spraying with several dylusions inks (but, only one color per charm- sticking to a color similar to the clay- so i used red, pink and orange sprays with the red clay.)


the charms look juicy and so colorful....just loved how they turned out. i did dab off some of the ink to help in the drying process, but, the charms held a lot of their color and the gold really added a nice pop to these charms.


i had so much fun and plan to make more! but, wanted to share in case you would like to try this yourself!!

Monday, December 15, 2014

OLW December- Release


when i thought of the word release- this was easy.... a creative release always.... that is what i am looking for- a creative release from life and more studio time.

i moved back to full time in my big girl job this past fall, and i am finally feeling like i am finding a better balance between work, art, and life.


i used a lot of ideas on the project. my favorite feather stamp from Rae Missigman's new stamps, inked tissue paper (that is the orange polka dot), emphemra, burlap, staples, layers of paper, sewing, and finally the seed beads.


if you are playing along or would like to make something for the word release- please share with us! link up and post what you have made at OLW; and be sure to leave me a comment so i can see what you are making as well.

Saturday, December 13, 2014

sneak peek- December OLW

giving a sneak peek for the One Little Word for december.... here is the first one, and then decided it needed some seed beads.


add some black seed beads....love the texture they added to this composition. and actually- will be excited to show the whole thing- this has quite a few textural elements to it.


Monday, December 8, 2014

i had tags that were due to be mailed out saturday morning and managed to add some finishing touches early that morning.


i had to make 5 tags to send and all had to include a "to and from."


here are a couple of my favorites....


have a few special people that you may be interested in some personal tags for? you can buy a set here.

Friday, December 5, 2014

square love

i have been so enjoying painting smaller lately. painting up more of the matboard tiles, including more mini's, and i found 6"x 6" wooden cradles i had bought, and painted those up too.


just like almost everything, i put down a skim coat of gesso to start and worked from there. the wooden cradles paint different than canvas and if you use an ink on the cradle without gesso the ink will be absorbed by the wood.

as a point of interest- i only the gesso the actual front panel and not the sides. i like how if the ink or wet paint runs off the front panel that it is absorbed by the sides of the cradle.


on this bottom cradle i used a strip of painted paper and attached to the board after i had gotten my background done. and can you see i have had a circle obsession?....can't seem to help myself, but, i love them....


happy friday!

Wednesday, December 3, 2014

bingo card trees


i have a thing for bingo cards....okay, games in general; although, i don't necessarily want to play them....i just seem to collect them. i love vintage games and all the pieces and paper that came with them. and, if the papers were used and put back into the box...even better!


i was actually looking for something else when i stumbled upon my stash of bingo cards- immediately prompting a creative synapse that became the bingo card trees.


i used paper and fabric scraps and do-da's to create this tree. i stamped words on cotton and put a different word on each tree finishing the tree off with a sari ribbon hanger.


merry wednesday!