Kristin Peterson: mixed media, collage, painter, artist
Showing posts with label DIY. Show all posts

Saturday, October 13, 2012

"dream"ing of the weekend

i had been dying to try making a hammered spoon. they all look so darn cute, especially with something stamped into them. so i gave it a whirl.....first of all, i would say that there is a trick to hammering the spoon flat to begin with. i got the instructions from here. i can see that my pic looks slightly out of focus- however, i am apparently not that steady with the pounding for the letters. there is a trick for that as well- unfortunately, i have not mastered that yet. i guess i will have to keep trying. i did use a sharpie to "fill" in my letters and then, lightly sanded the spoon to take off the excess sharpie and to brighten my spoon. what are you "dreaming" of doing this weekend?....

Saturday, February 18, 2012

queen of the DIY for the day

used the utee to put a nice thick protective coat on the lids.... with a spoon. i tend to be a little messy otherwise....

sprinkle, sprinkle....make sure to put tin foil underneath to protect your cookie sheet.

it doesn't have to be perfect,just a fairly even coat over the lid

looks like water sitting on top of the lid

 here is my stack of 4 jars of lemon sugar scrub with their cute little bingo price tags.


this was me today....queen of the DIY!

Sunday, January 8, 2012

pinning

i did manage to find time this weekend to work in my shop....a little cleaning (ok- a lot of cleaning....), some art, and time for a little DIY....

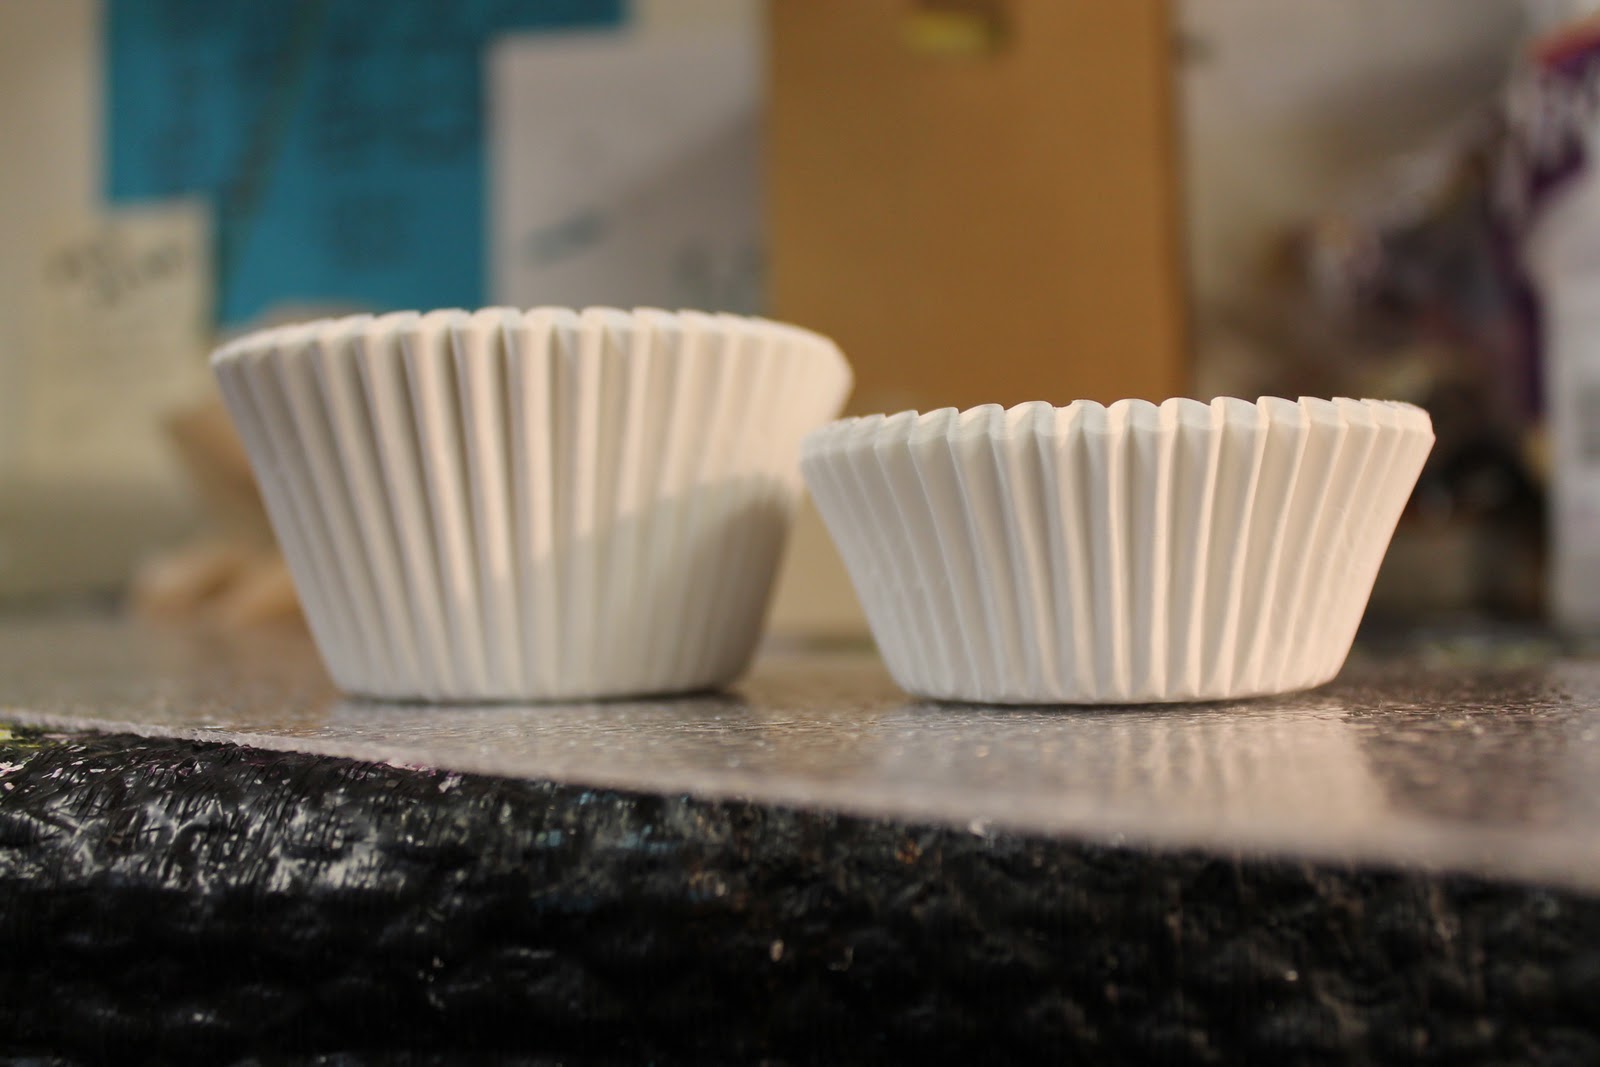
i bought 2 different sizes cupcake cups at my local store. i also bought a plastic light cover replacement that i found at the hardware store- like for a fluorescent light. the instruction stated to use an utility knife to cut, i scored the plastic and was able to cut with a pair of not very good scissors and it worked just fine.

 i used regular liquid elmer's glue to set the first cups i put into place.
the instructions simply stated to place additional cups into one another, but, i couldn't just stop there....no. i have way too much good stuff in my shop. so, i used a bingo card, a wooden token for a cup of coffee, and did some sewing onto my additional cups. the additional cups that i put in i used a glue stick. the glue does not show like the liquid glue may. i didn't really have any trouble with this as the instructions may have lead to believe.

here is the finished product i made-the cupcake holder idea that i had found on bhg.com that was sooo cute! their's were squares, but, the rectangle fit my needs better. i also recycled a vintage buckle for my hangar.

let me know what you think! thanks!!